A friend was complaining that their HP Pavilion dv7-4180us fan was excessively loud and constantly running. I offered to open up the notebook computer and take a look inside. What I found was the heatfins of the heatsink assembly was blocked up with dust and needed cleaning.
HP Pavilion dv7-4180us specifications:
http://h10025.www1.hp.com/ewfrf/wc/product?cc=us&lc=en&dlc=en&product=4308513
Product Number: XG834UA#ABA
Microprocessor: Intel Core i5-460M Processor 2.53GHz with Turbo Boost Technology up to 2.80 GHz
Memory: 4GB DDR3 System Memory (2 DIMM)
Memory Max: 8GB
Video Graphics: ATI Mobility Radeon HD 5650 s
Hard Drive 640GB (5400RPM)
Multimedia Drive: LightScribe Blu-ray ROM with SuperMulti DVD±R/RW Double Layer Support
Display: 17.3” diagonal High Definition+ HP BrightView LED Display (1600 x 900)
Network Card: Integrated 10/100/1000 Gigabit Ethernet LAN
Wireless Connectivity: 802.11b/g/n WLAN
Sound: Beats Audio and HP Triple Bass Reflex Subwoofer
Keyboard: 101-key compatible with island-style full-size keyboard with integrated numeric keypad
Pointing Device: HP Clickpad with On/Off button
External Ports
•5-in-1 integrated Digital Media Reader for Secure Digital cards, MultiMedia cards, Memory Stick, Memory Stick Pro, or xD Picture cards
•4 Universal Serial Bus (USB) 2.0, 4th port shared with eSATA
• 1 HDMI
• 1 eSATA + USB 2.0
• 1 VGA (15-pin)
• 1 RJ -45 (LAN)
• 1 Headphone-out
• 1 Microphone-in
Dimensions" 16.35" (W) x 10.8" (D) x 1.25" (min H)/1.46" (max H)
Weight: 6.86 lbs
Power
•90W AC Adapter
•9-Cell 93WHr Lithium-Ion Battery
Upgrade information:
The HP Pavilion dv7-4180us has a replaceable CPU. The Intel® Core™ i5-460M Processor
(3M Cache, 2.53 GHz) has a PGA988 socket. You can find other processors with PGA988 sockets here at ark.intel.com Advanced Search. The Intel Core i5-460M doesn't give information regarding compatible products, but using CPU-Z, you can determine the motherboard type and find a compatible processor. Becareful with the quad core and extreme processors. They list compatible chipsets, so make sure you have one of the listed chipsets.
I'm going to apologize upfront for the pictures, because I had to take these pictures after the fact because I repaired it initially without taking pictures.
First, flip the computer over. Remove the battery and the bottom panel.
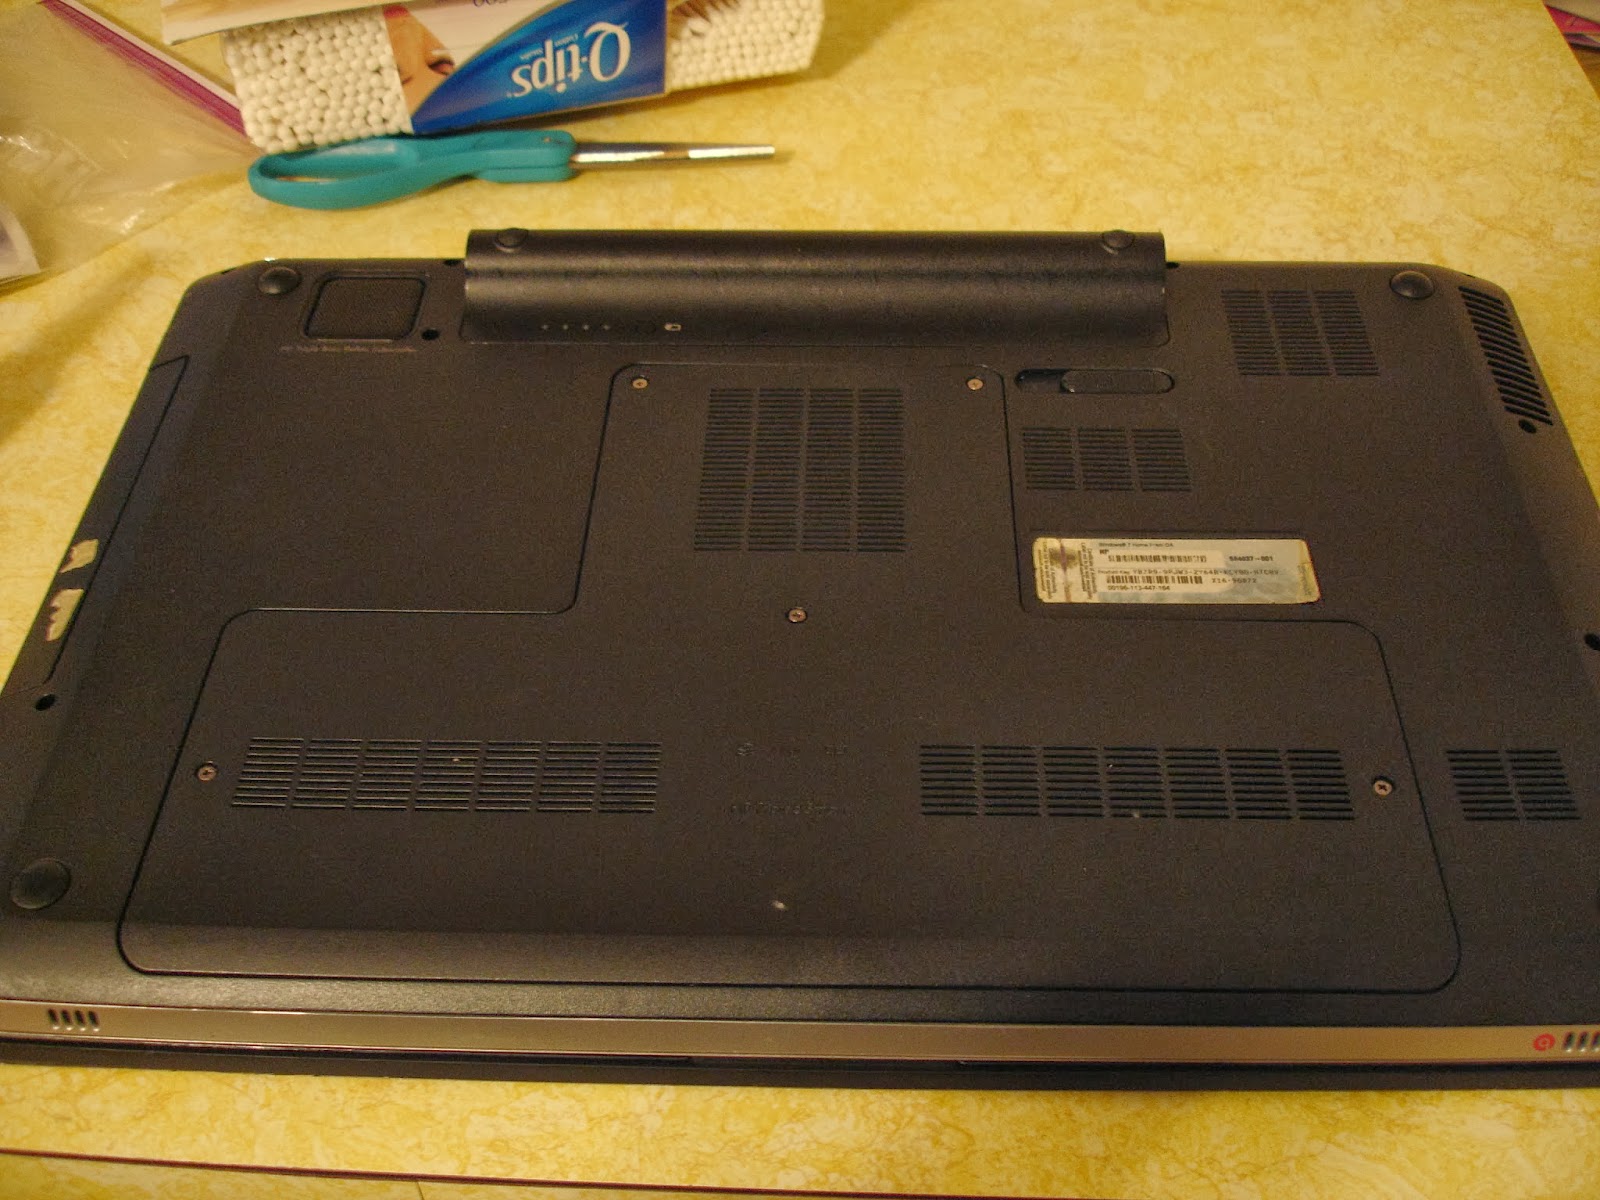
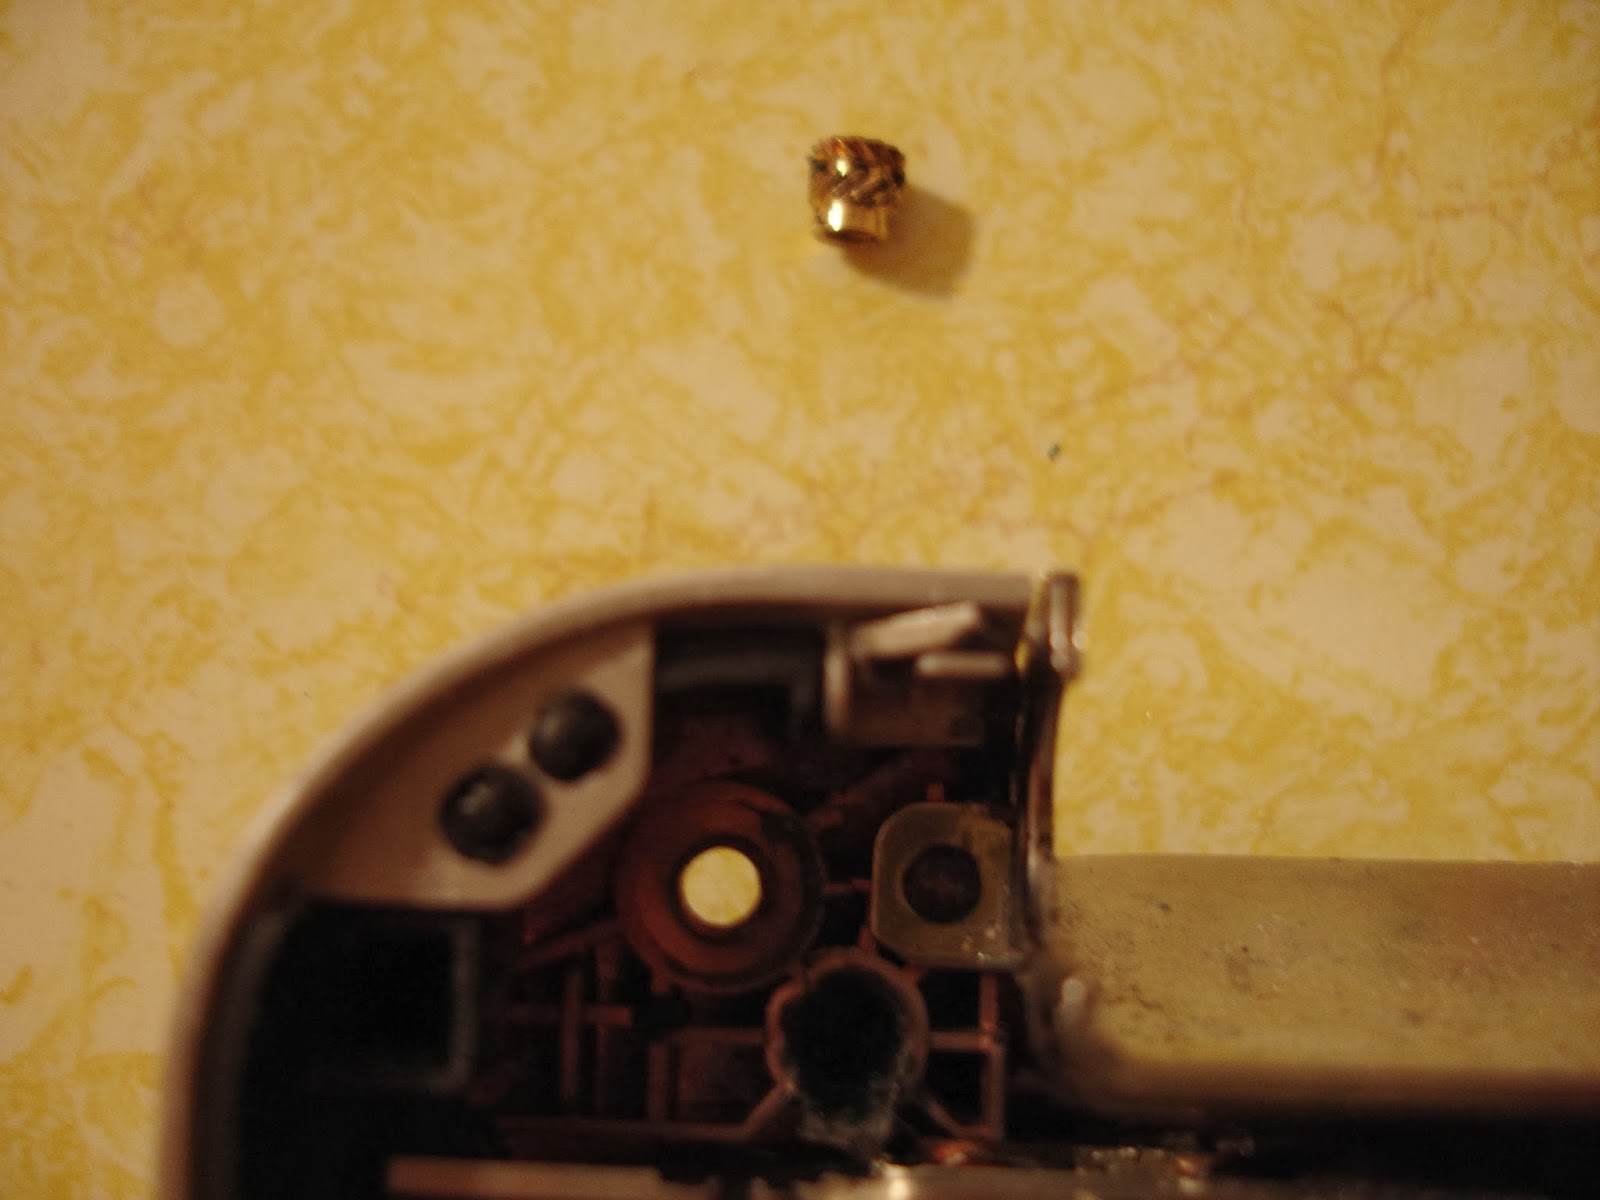
With the bottom panel removed, you'll find the hard drive (right bay) and a bay for a 2nd hard drive (left bay). For the 2nd hard drive, the connector to the motherboard is different from the primary hard drive. The connector is similar to the cable used by the optical drive. You'll need something this from newmodeus.com. Remove all screws from inside the bottom panel. When taking out the screws from the rest of the bottom case, it may be wise to open the LCD lid to a 90 degree angle because the left hinge is POORLY constructed and the screw fitting may break on lifting it with only 1 screw holding it down. In this notebook computer, the screw fitting broke out of the plastic modeling (see further down).


Remove the screws from the battery area and once you have the screws for the keyboard remove, pull the lever in the battery area to release the keyboard.

Remove the optical drive and remove the screws from the optical drive area.


Below is an image of the screw fitting that broke out of the bottom case. I tried using the Mercury Adhesives M1100G glue, but it wasn't strong enough to handle the flex from the hinge being open and closed on the single screw with the bottom screw removed. I found an HP forum post where another user recommended using epoxy to hold the screw fitting in place and a washer to distribute the pressure.

In the proud tradition of the HP Pavilion notebook computer line, you MUST FULLY disassemble the notebook computer to access the heatsink and fan assembly. The good news is that the heatsink and fan assembly for the CPU and GPU are well made and fit tightly against both the CPU and GPU so no coppershims are required. Kudos to HP for an excellent cooling build.

First things first, remove the fan and heatsink and clean out the dust. This computer definitely needed the cleaning. The heatfins on the heatsink assembly was caked with dust. Use a vacuum cleaner or high isopropyl alcohol and clean out the dust from the heatfins AND fan. The only other thing required was to replace the stock thermal compound with Artic Silver 5. Additionally, I used a thermal pad and coppershim over the chipset controller to keep that cool.

On reassembling the notebook computer, there are a lot of surprises.
There are solder mounts for a USB board.

There are solder mounts for a touchscreen connector.

Here's a picture for solder mounts for a unknown missing connector.

Reassemble the HP Pavilion dv7-4180us and you'll find that the fan is quieter because it's running at a lower RPM and it doesn't run as often.
2016-06-12 Update
Purchased a replacement bottom case for the HP Pavilion dv7-4180us on here or search on ebay.com. I didn't replace it as is because the construction of the left hinge mount was probably for sure going to break again. So this time I reinforced the area by filling it with epoxy. I used J-B Weld 8265S original steel reinforced epoxy here on amazon.com. The area is definitely MUCH stronger.
I did try fixing the original one, but I goofed. WHOOPS. I had filled the area with epoxy but some of the epoxy came up through the screw mount so the screw doesn't go down all the way now...ugh! So for those of you trying to fix broken screw mounts TAPE the bottom of the screw mount so epoxy doesn't go through the screw hole and save yourself the facepalm.

I had to revisit the HP Pavilion dv7-4180us because the heatsink and fan assembly needed cleaning out. The computer generally runs hot and the fan runs continuously even with the Arctic Silver 5 thermal compound mod.


In my opinion the issue is the single heatpipe for the Intel Core i5 460M processor. I've seen this issue crop up before for notebook computers that have heatpipes that are too short...*cough* Dell *cough*.

The solution I tried here was attaching 5mm high heatsinks on top of the video processor heat pipe. The video card heatpipe is lower to the board so there's space to add heatsinks. The processor heatpipe is higher and doesn't have space on top for additional heatsinks. The larger heatsink is a 32x22x5mm heatsink (eBay search), the medium sized heatsink is a 20x11x5mm heatsink (eBay search), and the smallest heatsink is a 11x11x5mm heatsink (eBay search). I used double sided 3M thermal adhesive tape to attach the heatsinks to the heatpipe.

Additionally, I placed a thermal pad and copper shims over the heatfins.

HP Pavilion dv7-4180us temperatures before cooling mod.

HP Pavilion dv7-4180us temperatures after cooling mod. You can see here that the cooling mod provides modest heat improvement. After completing this mod, I had worked on another cooling mod for the Sony VAIO TXN27N where I used thermal epoxy to attach copper shims to the heatpipe and achieved much better cooling. I think this might be the way to go. See Sony VAIO TXN27N heatpipe cooling mod here.

No comments:
Post a Comment