Sure enough, when I got into the machine, the heatsink was caked in dust.


Below is an image of the top of the board. Please note that the heatsink bracket is NOT included with the board. You'll have to remove it from your board and attach it to new board. The heatsink bracket is attached using a doublesided adhesive strip and is very strong. Press firmly on top of the screw mounts to release it from the original board to move it to the new board.

Below is an image of the bottom of the board. I didn't notice the additional Intel chip on the bottom. Usually, I place a thermal pad and copper shim over those chips to help with cooling...OOPS! For those stumbling across this page, please do add a cooling mod this chip.

First things first, flip the FZ348E over, remove the battery, memory bay cover, and the hard drive. Remove all the screws from the bottom case.

Open the LCD and remove the panel above the keyboard. Pull from the back to the front.

Remove the screws holding down the keyboard and remove. Disconnect all cables connected to the motherboard.

Remove the screws holding down the LCD.

After detaching the LCD from the bottom case, flip the bottom case over and the bottom case should come right off.


The heatsink and fan assembly are 2 separate parts. First remove the fan. Then detach the heatsink. Note that the plate over the GPU and chipset controller are also separate parts. Additionally, below is a picture of the heatsink caked in dust. Remember, it's important to keep this area free of dust otherwise, the fan can't keep the heatsink cooled resulting in overheating and potentially damaging solder joints and potentially components.


Below is a picture of a unused slot. Not sure what can go there, but it would b fun to try to put something there.

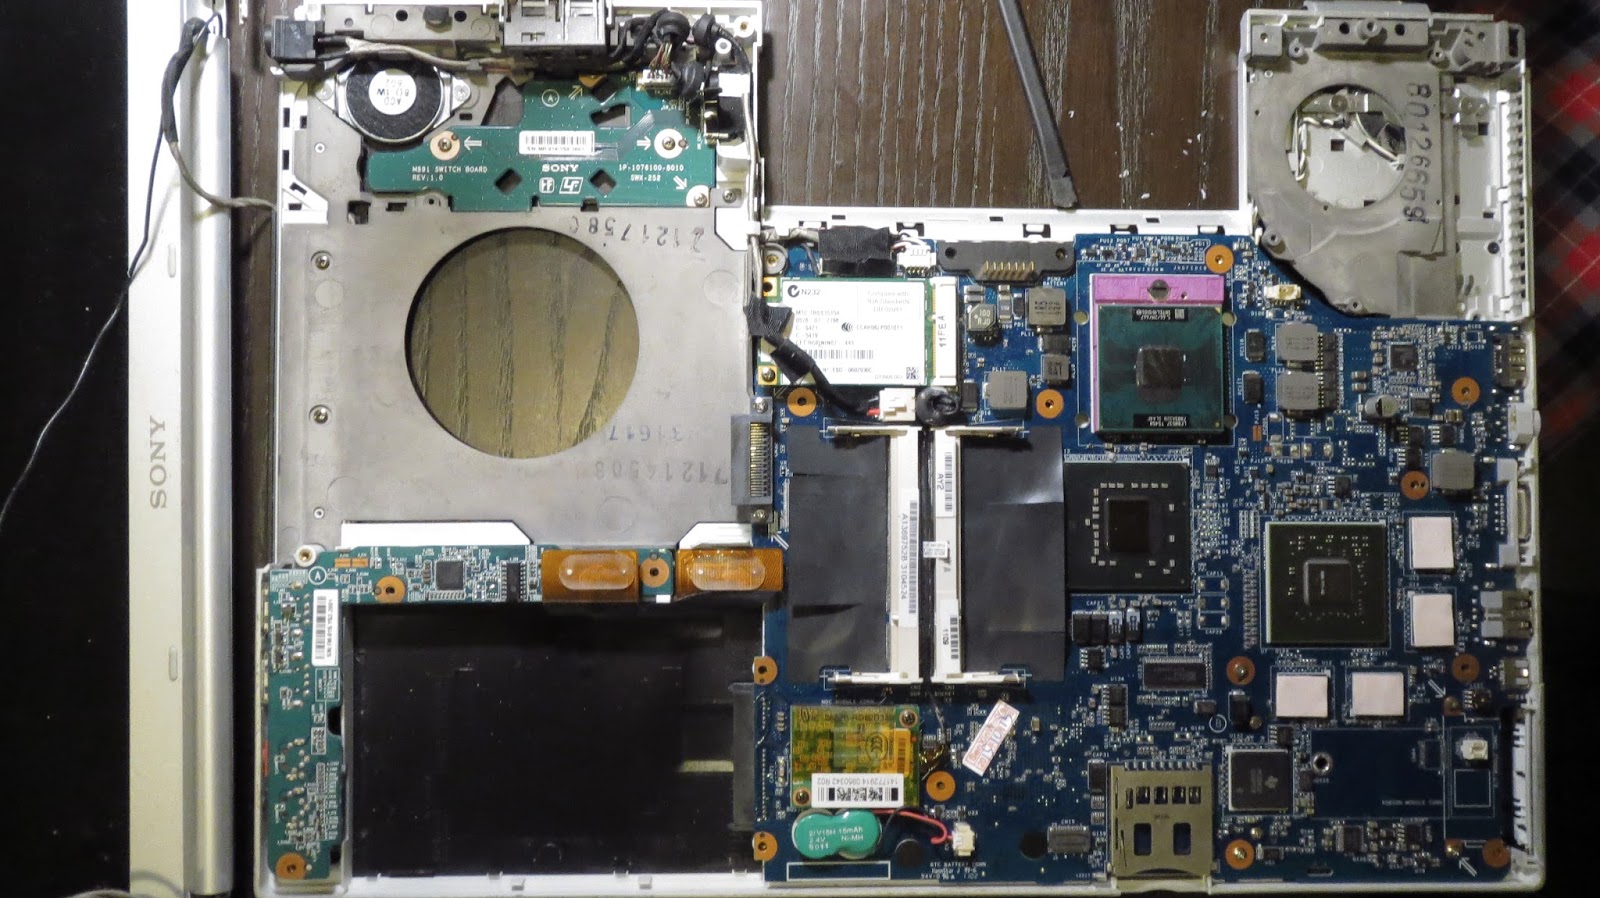
Image of the motherboard with the processor removed and the heatsink and fan assembly removed.

Image of the new motherboard with CPU attached and the original thermal pads over the video memory transferred to the new motherboard. Before replacing the heatsink and fan assembly, Arctic Silver 5 was applied to the processor, video processor, the chipset controller, and the heatsink.
This is an image of the heatsink plate. I cut a strip of thermal pad to place in between the video processor heatpipe and the heatsink plate because there's no direct contact. Also, I placed a 1mm thick copper shim between the chipset controller and the heatsink plate.

Reassemble the FZ384E.


Power up the Sony VAIO VGN-FZ384E, and viola, all working as it should be.

2015-12-19 Update
I really like Windows 10 and all, but with this old notebook computer, I did run into an issue with Windows 10 x64. It wasn't a deal breaker but it did make me SO SAD,
and here's why:
The Sony VGN-FZ384E DOES recognize 8GB memory. HOWEVER, the 64 bit video drivers for the Nvidia Geforce 8400M GT from NVidia.com does NOT work. Nor does the 64 bit drivers from the Sony VGN-FX384E support site work.
What does work is Windows 10 x86 with the 32 bit video drivers from the Sony VGN-FX384E support site. Meaning, you can't up the memory from 4GB to 8GB. Again SO SAD. I'm mean, come on Sony, I put 8GB memory in an aging Dell Latitude D630.
No comments:
Post a Comment